BEST MARBLE CONTACT PAPER
Hi!
I’m Wayna
I'm on a mission to help small space dwellers decorate their place without breaking the bank.
The Site may contain links to affiliate websites, and we receive an affiliate commission for any purchases made by you on the affiliate website using such links.
Does your rental have a dull and boring kitchen? Do you want to make improvements but have a limited budget for a renovation?
Well, you’re in the RIGHT place.
At Wayna’s World, affordable rental-friendly DIY upgrades are our thing!
I’ll show you that you can do kitchen improvements while on a budget and still make it look fabulous and functional.
In this blog, you will learn:
Under cabinet lighting for kitchen
How to clean dirty grout between tiles
How to install peel and stick contact paper for countertops
If rental styling tips like these are helpful, you can learn much, much more in my membership, Luxe Rental Academy. Check it out by clicking on the link.
Read on to find out my hacks and tips on rental kitchen improvements
or..
UNDER CABINET LIGHTING
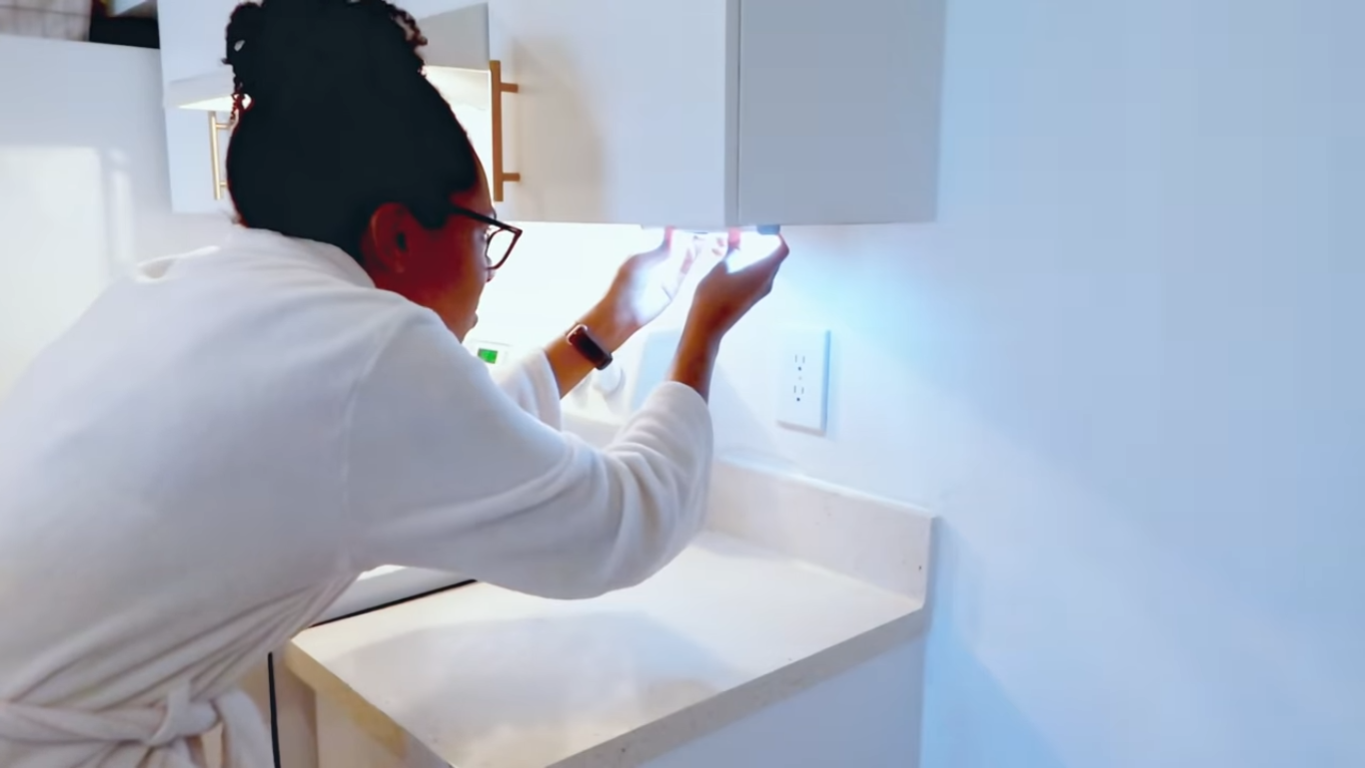
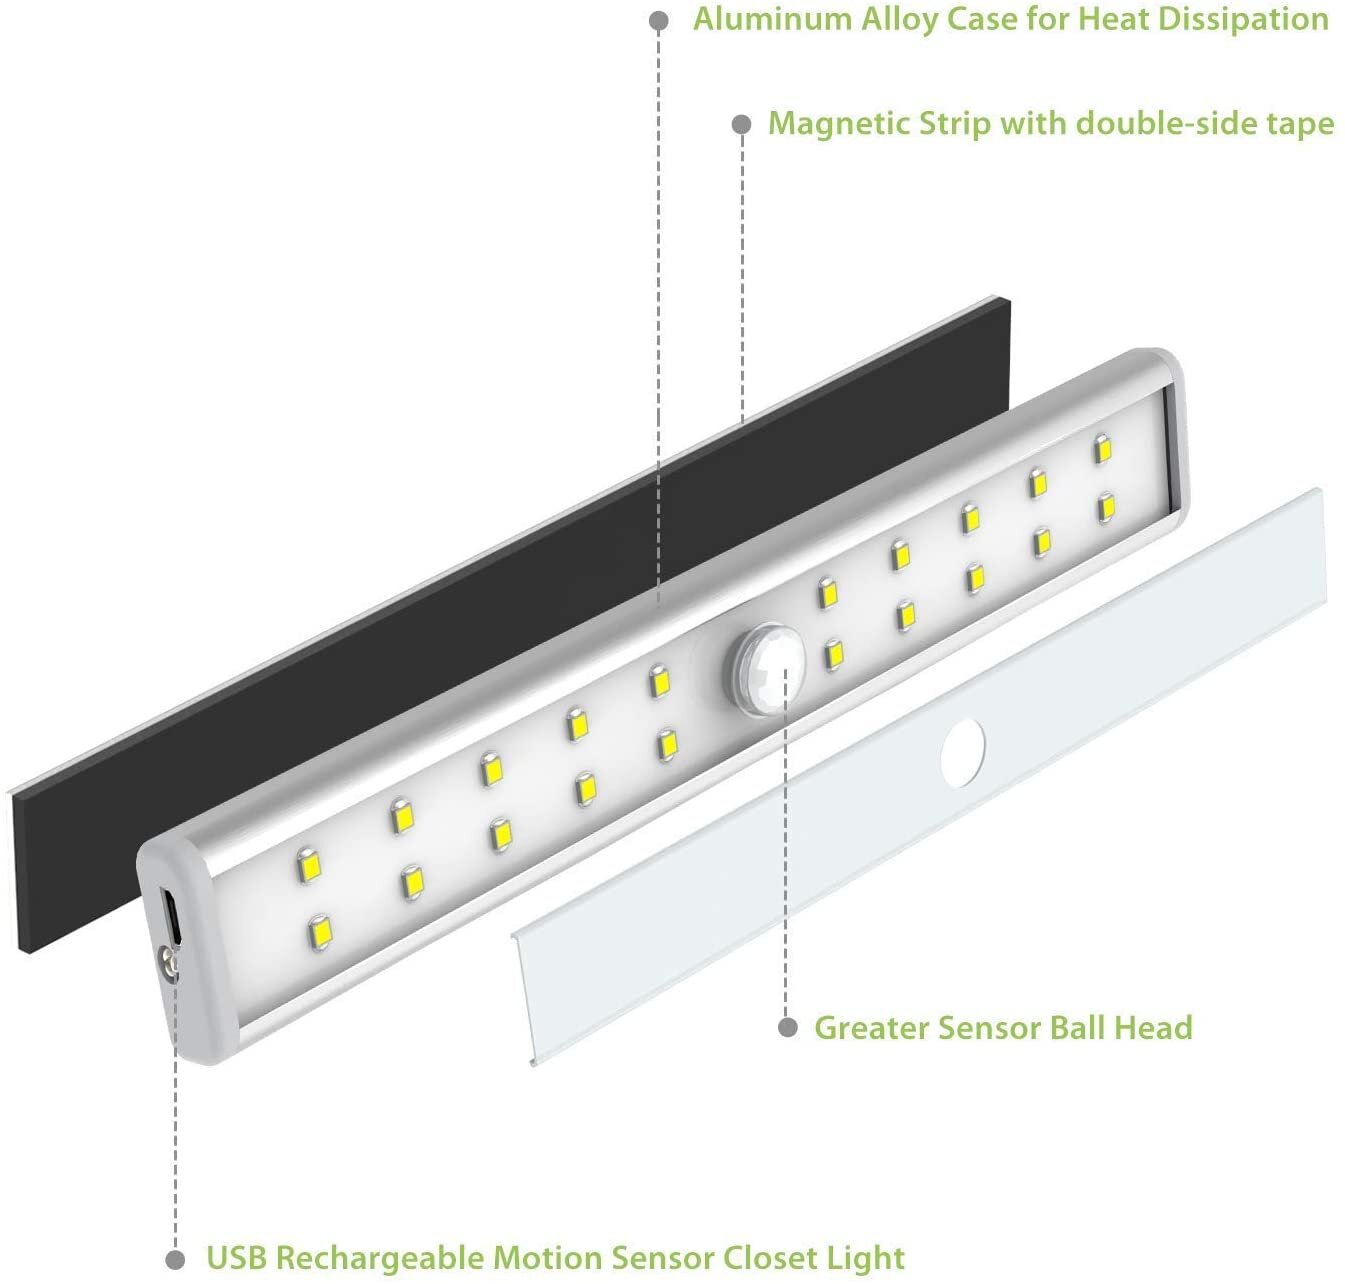
First thing I addressed in my rental kitchen are dark areas. A clever hack that I used to fix this is to install motion sensor under cabinet LED lights.
The kitchen has the most amount of work surface than in any other room in your house. About 40 to 60 percent of its area is dedicated to counters.
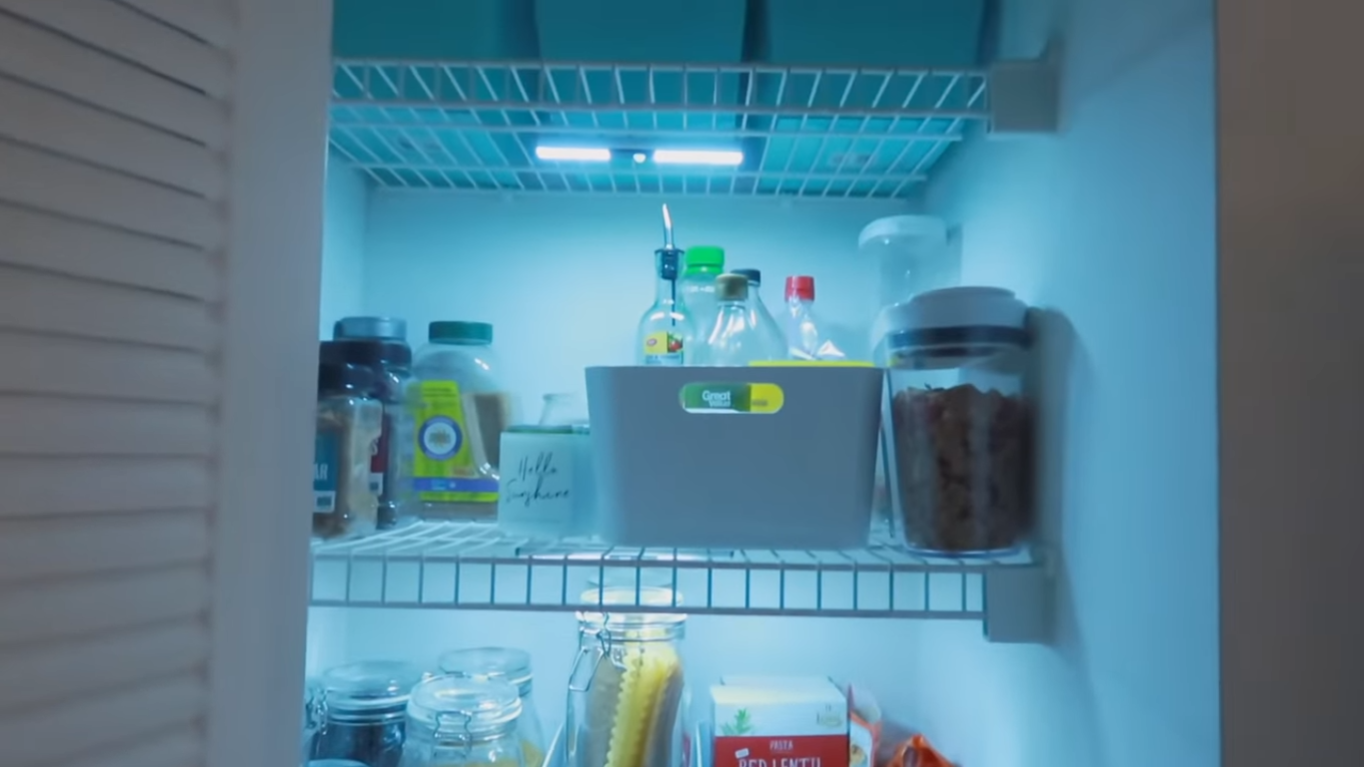
I also used these lights for my kitchen pantry which was also very dark. So whenever I have to grab something from there, the light automatically turns on for each shelf layer.
CLEANING DIRTY GROUT LINES
When I first came to my rental, I thought that my kitchen floor grout lines were intentionally dark.
Boy was I wrong.
It turns out they were filled with dirt and grease!
The kitchen is a frequently occupied area and because of the activities done in its premises (food prep, washing, etc), it is common for its floor to collect dirt and other substances.
To tackle this, I got a bottle of The Works™ which you can buy from Dollar Tree and a grout brush that I got from Target.
After some good scrubbing and.. voilà!
My kitchen floor looks as good as new.
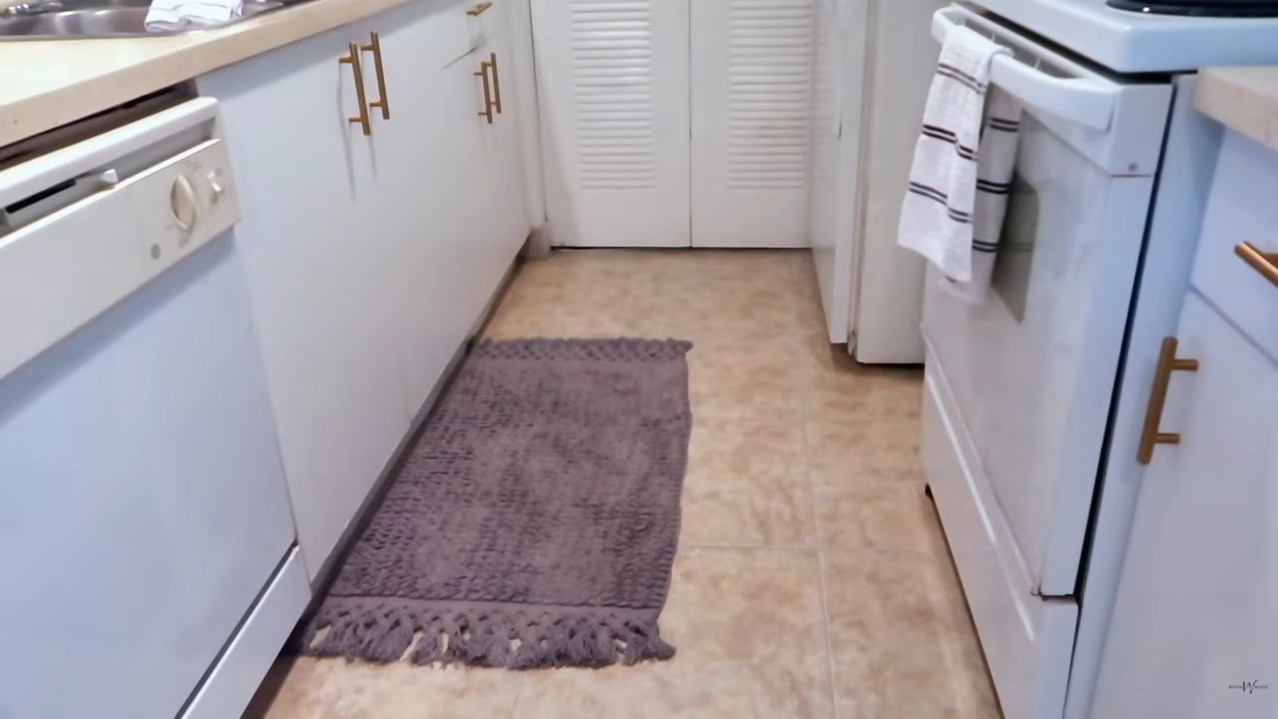
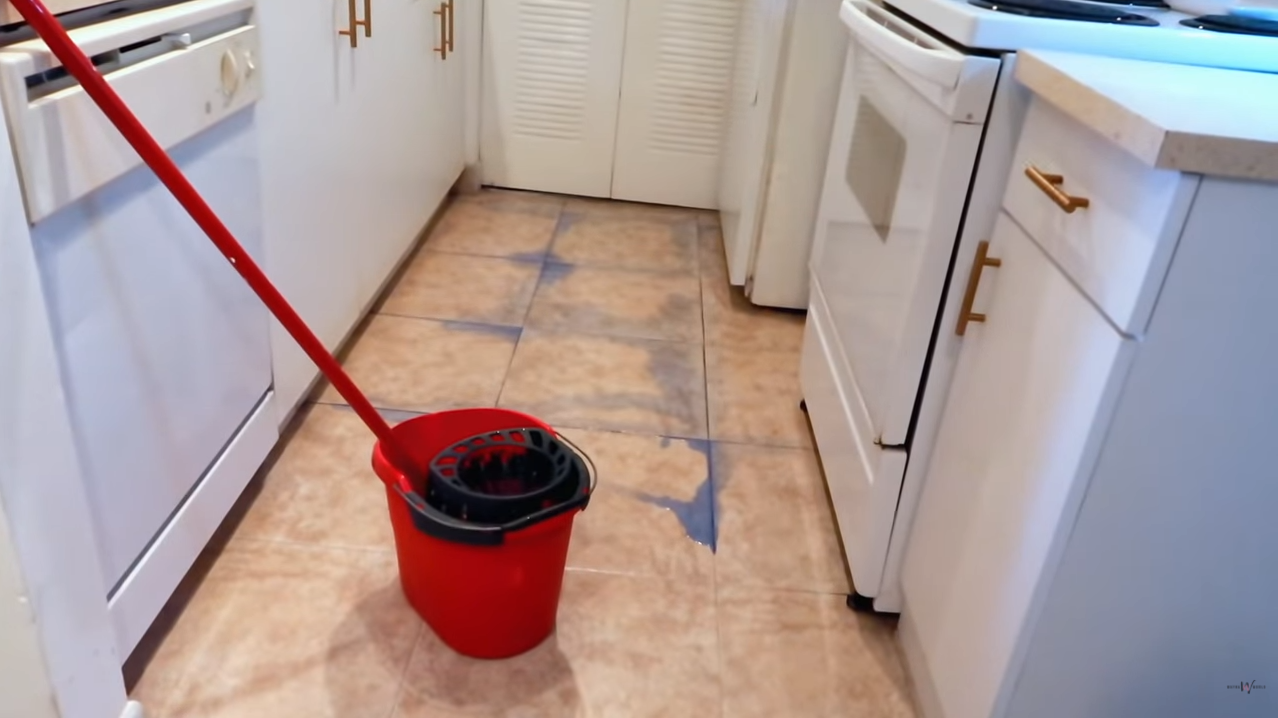
The amount of dirt your floor can hide along its grout lines will most likely shock you. But you’d be more surprised by the difference clean grout lines can do to the overall atmosphere of the room.
MARBLE COUNTERTOP CONTACT PAPER
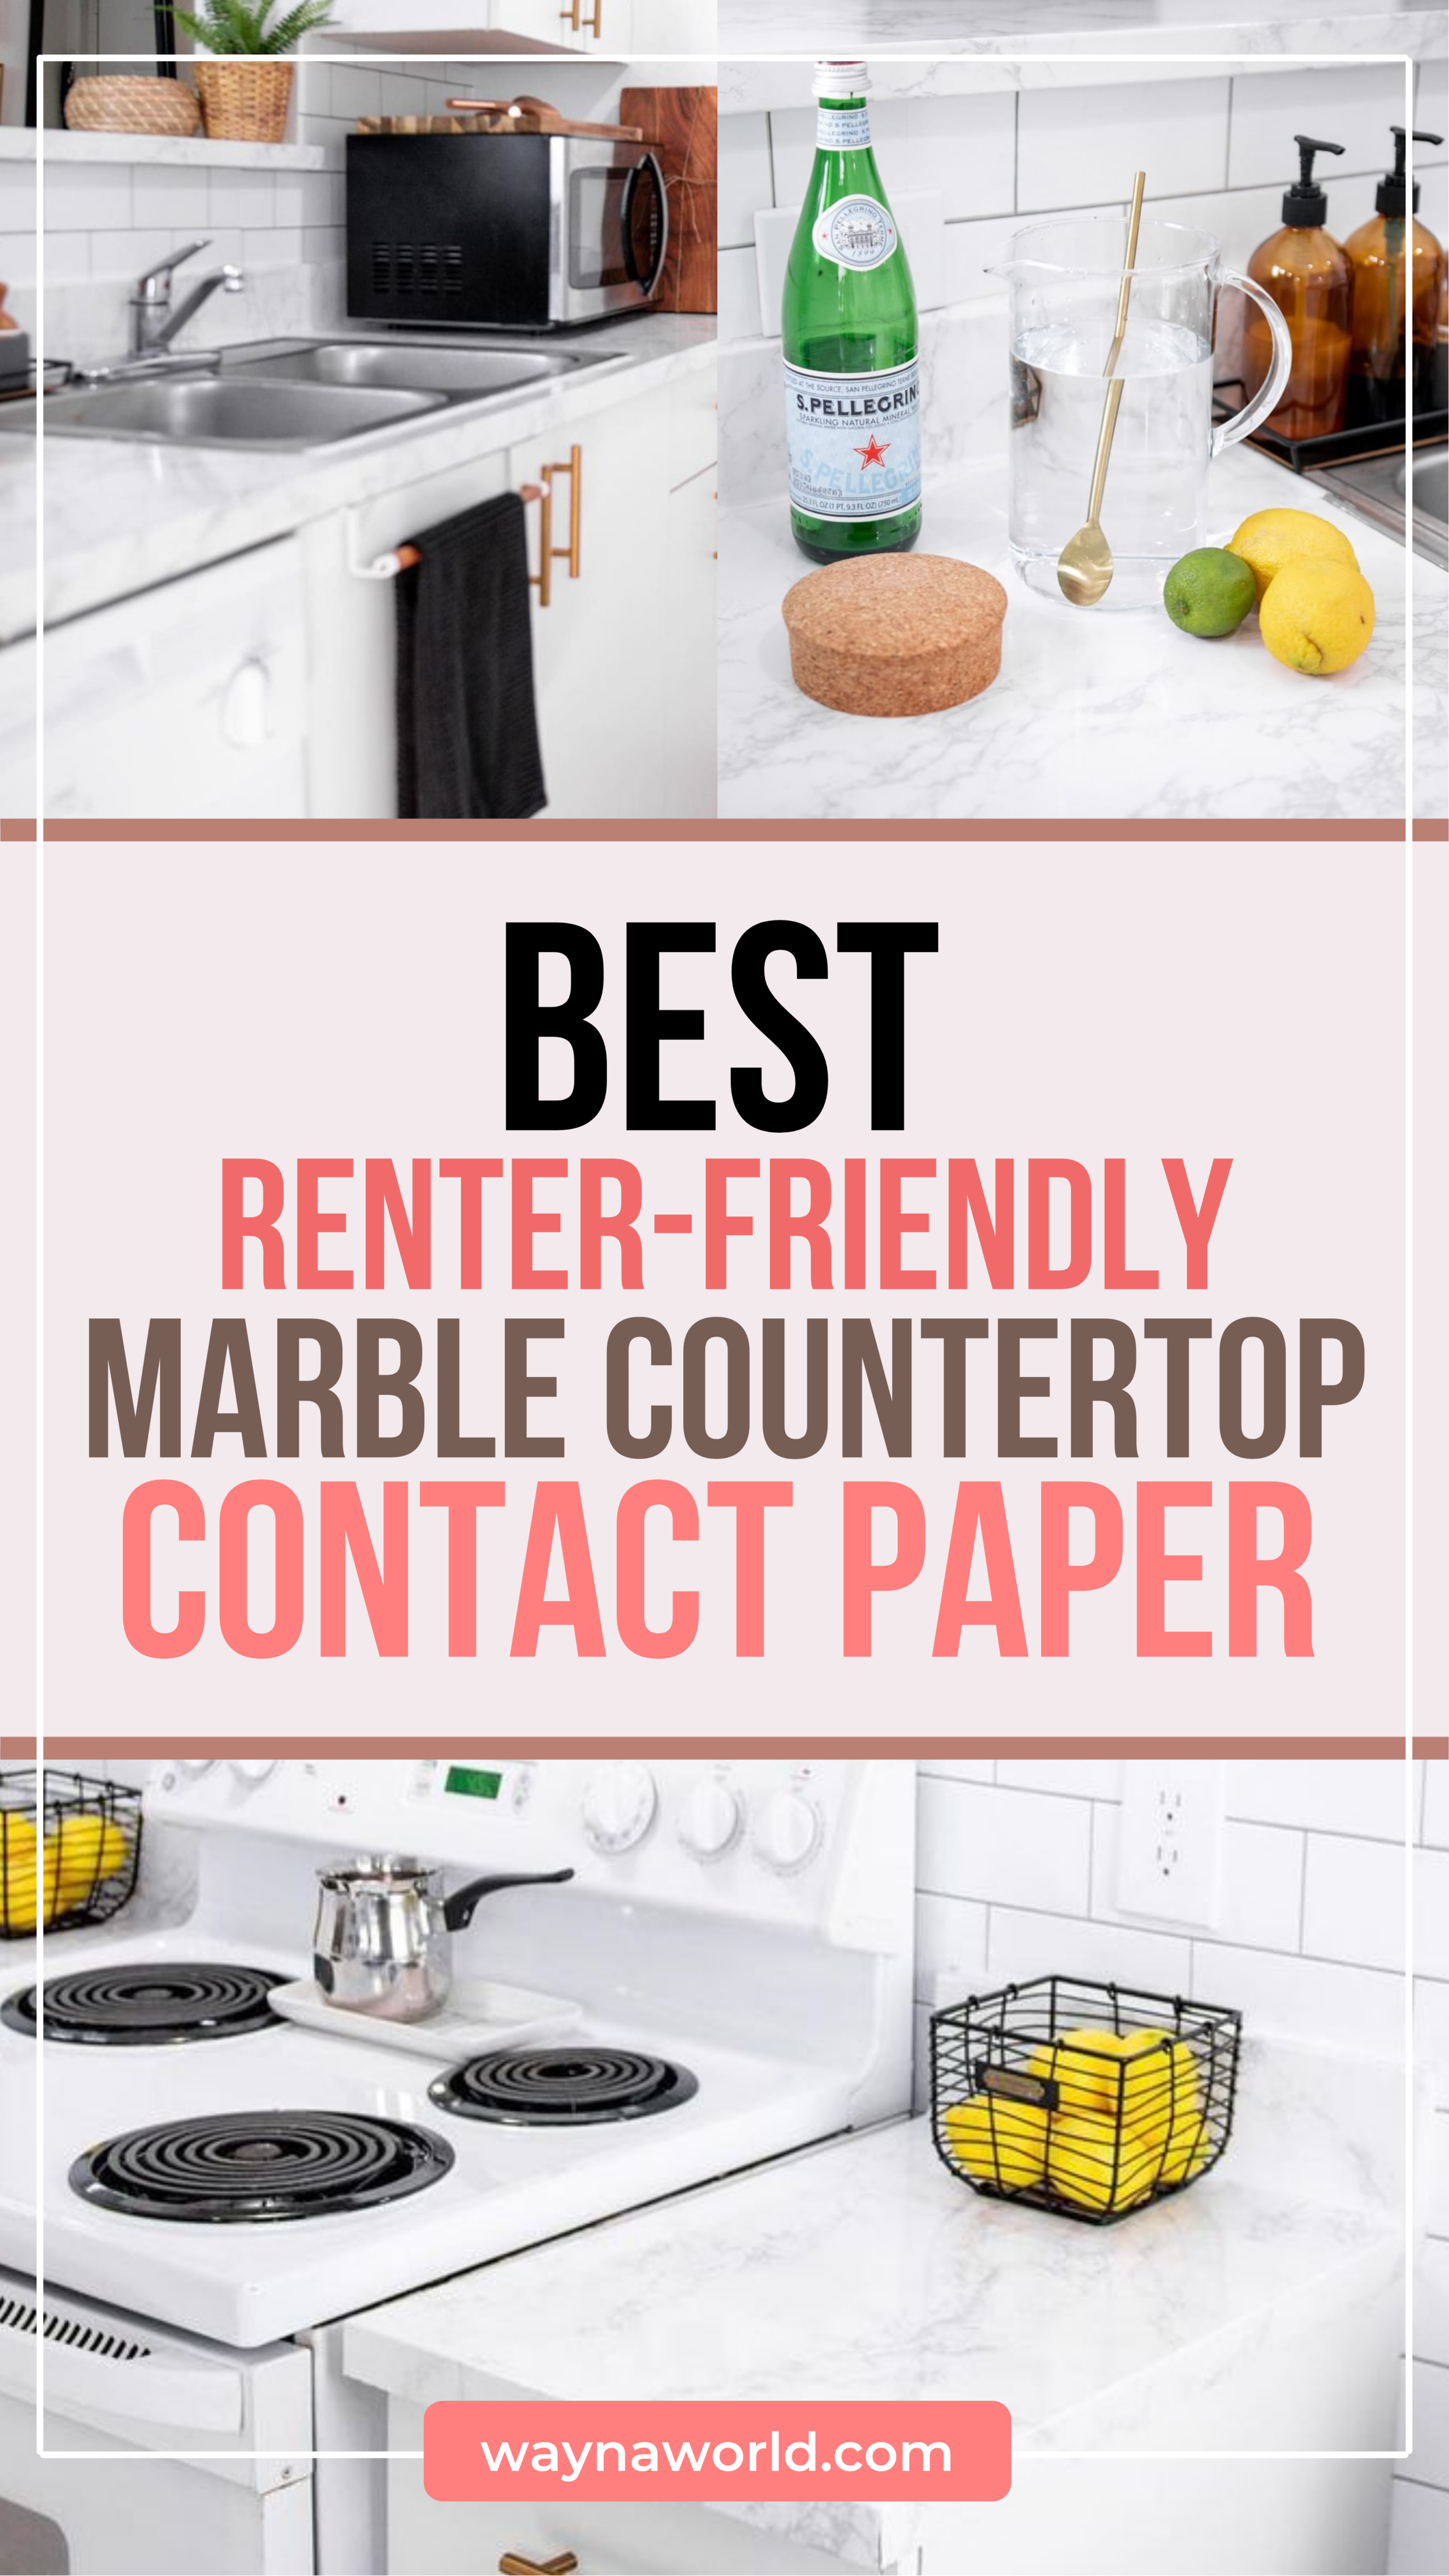
One last upgrade I want to share is applying a peel-and-stick contact paper for my kitchen countertop.
For my counter, I bought a marble contact paper that is 4 feet by 6.5 feet. The material is PVC and is waterproof.
Make sure that your countertop is clear, clean, and dry.
I wiped mine with alcohol before I started sticking the contact paper. This is an important first step, or else the adhesive may not stick properly.Plan the layout.
Many contact papers come with graph lines at the back side to help you in determining the layout and as guides in cutting the sheet.Start with the corners.
By starting from a corner section, you’ll be able to align the paper correctly at a 90-degree angle.Now, peel and stick - a little at a time.
At about 2 to 3 inches at a time, peel off the contact paper and press it flat on the counter. A helpful tool you can use for this is a wallpaper smoother to flatten it out evenly across the surface.Use a cutter to trim out sections.
To work around elevated areas such as your sink, stick the paper flat up until the edges of the sink. Then, cut the sheet along the line where the countertop meets the sink.Tuck the contact paper in all the way underneath the overhang.
This will hide the edge of the sheet from view to create a seamless look. Finish off using a blow dryer to flush out any trapped air and ensure that the paper completely sticks to the counter.
There's so much more I can teach you. At Luxe Rental Academy, I share my design methods and techniques based on my personal experiences.
You can learn more about the membership here.
Or, get a FREE Storage Solutions Guide by signing up here:
Until then…
Stay chic,


